Data point settings
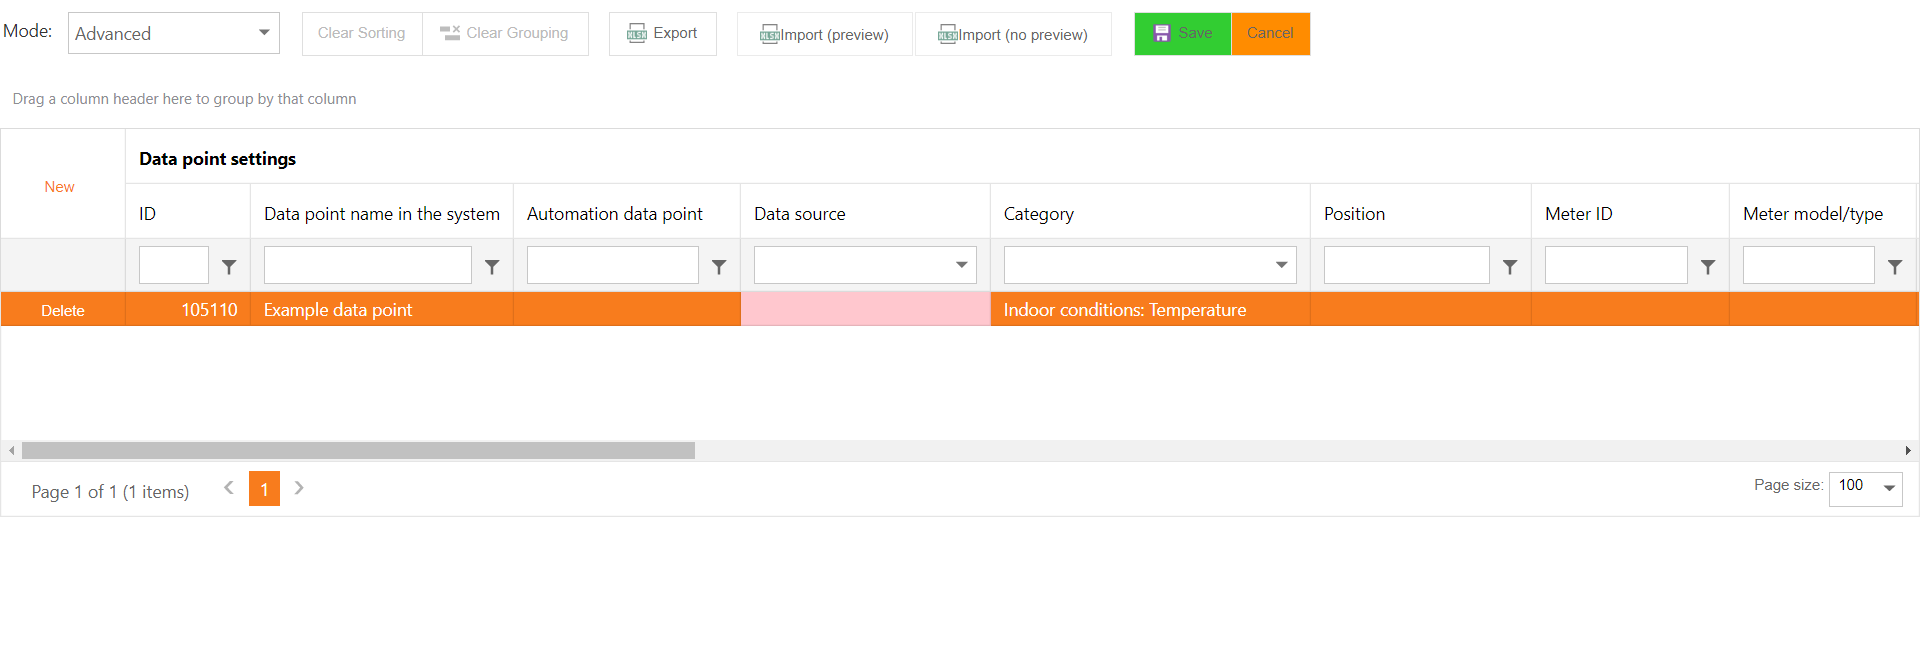
In the data point settings page, one can add, remove and modify data points. The page consists of a grid that has a toolbar with several features. With the dropdown, the user can select the mode to be used. In the basic mode, a limited number of columns are visible in the grid. In the advanced mode, every data point setting is available.

Modifying data points
The grid uses the batch edit mode to edit data points. All the modifications including adding new rows, removing rows and editing cells are performed to the grid, after which pressing the Save button saves the changes. If the modifications are invalid (for example, some values are missing or data types are incorrect), the user will be notified. When the save operation is successfully completed, the user will see a message about it.
The advanced mode contains integration specific settings in addition to the primary data point settings that are also available in the basic mode. When selecting a data source for a data point, depending on the driver selected for the data source, the data point may require specific settings. For example, if the data source has Modbus driver, the Modbus specific settings need to be defined for the data point. Such settings are organized into logical groups that have a header indicating the driver type.
Modifying data points in Excel
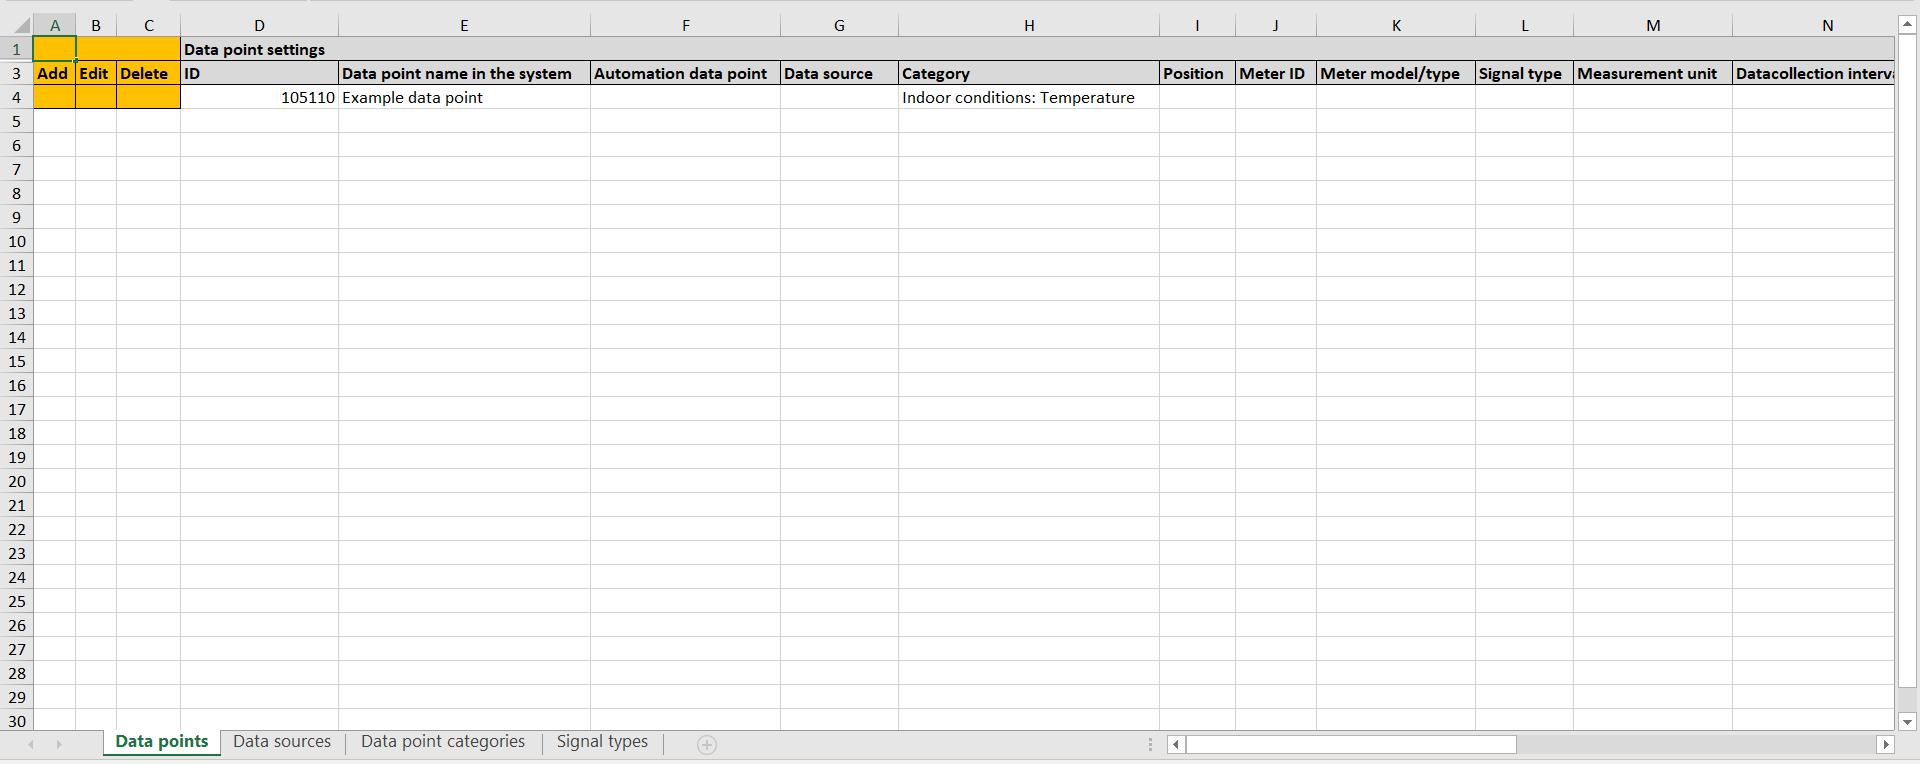
Modifying data points can also be performed in Excel. The first step is to press the Export button. This will create an Excel file that contains all the columns visible in the grid and all the existing rows. In the Excel file, the user can add, edit and delete data points by writing values to the cells. Also, all the columns with discrete values will have all the available values listed in separate sheets. The user has to write "x" to an operation column for each row that they want to perform an operation (add, edit or remove) to.

When all the changes have been made, the Excel file is imported to the grid. The first option is to import with preview. It will only put the changes to the grid as if the changes had been made using the features of the grid. With this feature, the user can check whether the changes are correct. The user will still have to press Save in order to save the changes. If this feature is used, every row to which an operation is performed will have to be visible in the grid. Importing without preview will save the changes immediately. Both features have extensive data validation so that if the changes are invalid, the user will be notified about where the shortcoming is.