Sub measurement targets
Monthly targets
The Monthly targets tool can be used to set monthly targets for sub-measurements. The targets are used in comparing the results on the tenant terminals, for example.

Setting monthly targets
Selecting the building
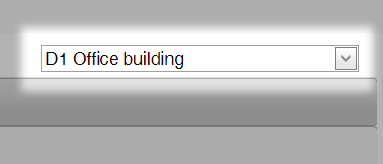
Select the building, for which you want to set consumption targets from the drop-down menu in the top right corner of the page.
Selecting the year
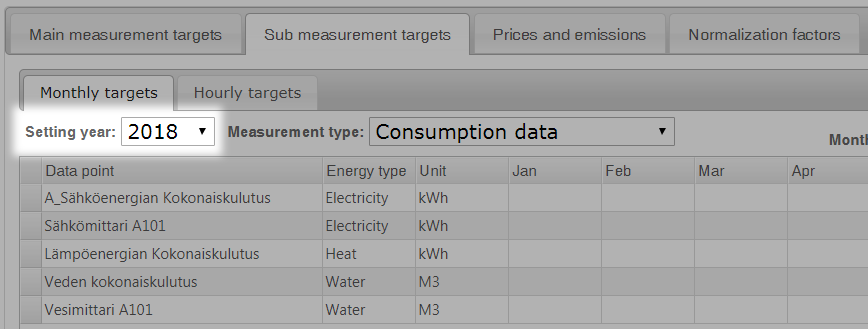
Select the year, for which you want to set consumption targets from the Setting year drop-down menu.
Selecting the data points
Select the data points, for which you want to set consumption targets from the Measurement type drop-down menu.

| Note | |
| The data points are filtered in the Monthly targets table based on the measurement type selected. |
Setting targets
You can edit the desired cell in the table by clicking it. You can add the desired targets directly into the table cells.

Saving targets
Save and update the targets of a building by clicking the Save button
You can clear the selections you have made by clicking the Cancel button.
Hourly targets
The Hourly targets tool can be used to set hourly targets for sub-measurements. New targets can be set for the sub-measurement, or the targets can be copied from another sub-measurement.

Adding a new target for a sub-measurement
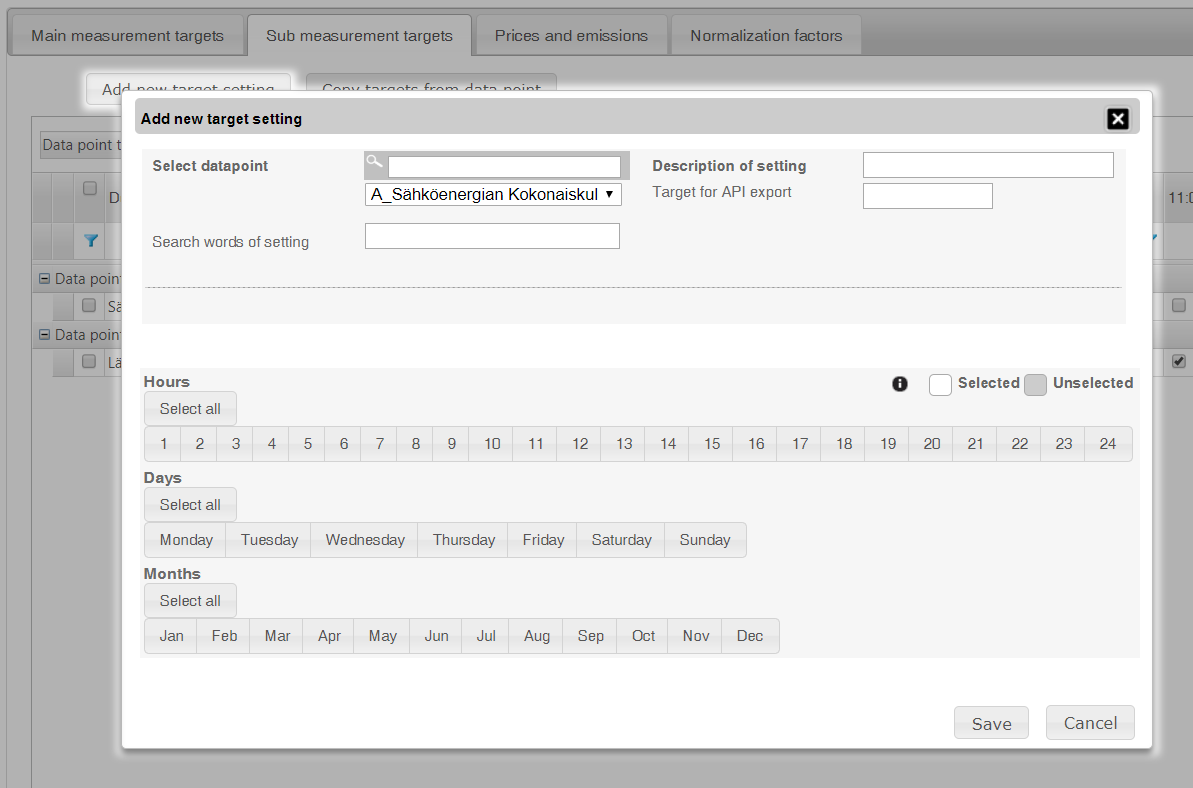
Add a new target setting by clicking the Add new target setting button. This opens a pop-up window for entering the information on the new target setting.
Selecting the data point
Select the data point, for which the new target setting is set from the Select data point drop-down menu.
If there are many data points, you can also use the search field for searching data points based on the search word.

Adding a description
You can add a description for the target setting in the Description of setting field. For example: Total heat consumption (kWh).

Adding a target value
Add a target value into the Target for API export field.

Adding a search word
You can add a search word for the target setting into the Search words of setting field; it can be used to find the setting when selecting a data point.

Selecting the target’s period of validity
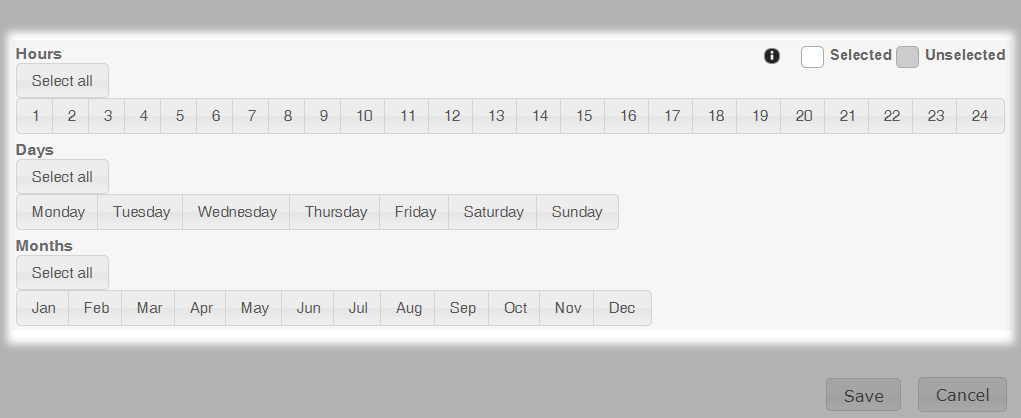
Add a period of validity for the target with the Hours, Days and Months selections. The new target setting is updated for all selected time values concerning the selected data point.
| Note | |
|
You can select all hours by clicking the Select all button. You can select all days by clicking the Select all button. You can select all months by clicking the Select all button. |
| Note | |
|
The selected time values are shown on a white background, while the time values that have not been selected are shown on a gray background. |
Saving the new target setting
Save and update the targets by clicking the Save button.
You can clear the selections you have made by clicking the Cancel button, after which you can close the pop-up window.
Copying the targets from another sub-measurement
You can copy the targets from another sub-measurement by clicking the Copy targets from data point button. This opens a pop-up window for selecting the settings for copying.
| Note | |
|
Copying removes all existing targets from the sub-measurement. |

Selecting the data point to be copied
Select the sub-measurement whose targets you want to copy from the drop-down menu.

Selecting the data points to which targets will be copied
Select one or more data points, for which you want to set targets by using the data point check box.

Saving the copied targets
Save and update the copied targets by clicking the Copy rows button.
You can clear the selections you have made by clicking the Cancel button, after which you can close the pop-up window.

Viewing the targets
You can study the added hourly targets in the table updated on the Hourly targets page.

Changing the target schedules
Each hourly target row added has check boxes in the columns for hours, days and months. You can use the check boxes to select when the target is in force. This makes it possible to take the hours of the day and the changes of seasons into account.

| Note | |
|
Remember to save the changes to the table by clicking the Save button after making changes. If changes have been made, but they have not been saved yet, a pen icon ( |
Disabling the target
An hourly target can be enabled or disabled by selecting the check box in the Enabled column.

| Note | |
|
The Enabled column cell of enabled hourly targets is marked with green, while the corresponding cell of disabled hourly targets is marked with orange. |
Saving changes
Save the changes to the table by clicking the Save button. If changes have been made, but they have not been saved yet, a pen icon ( ) is shown on the left side of the changed row.
You can clear the selections you have made by clicking the Cancel button, after which you can close the pop-up window.

Deleting targets
You can delete an hourly goal completely by clicking the Delete button. You can select the targets to be deleted with the check box on the left side of the data point.

After you have selected the hourly targets to be deleted and clicked the Delete button, you need to confirm the deletion by clicking the OK button in the pop-up window.